A guide on how to create a Custom Name Server using your own domain (ns1.yourdomain.com) through the Digitalku client portal.
You can create your own name server using your domain, so you don't need to use the default name servers provided by your hosting. The result will look like:
ns1.yourdomain.com
ns2.yourdomain.com
Steps to Create a Custom Name Server
Step 1 — Log in to the Digitalku Client Portal
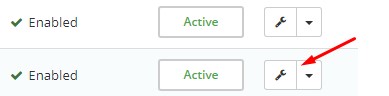
Step 2 — Select the domain you want to use as a Custom Name Server
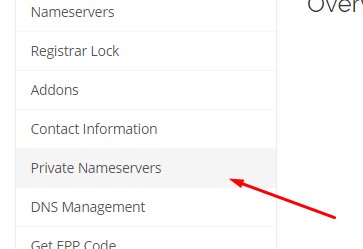
Step 3 — Click Private Name Server in the left tab
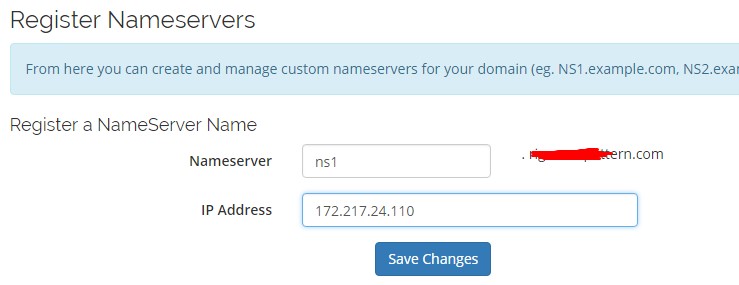
Step 4 — Enter the name server name you want and the IP Address of your hosting server
How to Find the Name Server IP
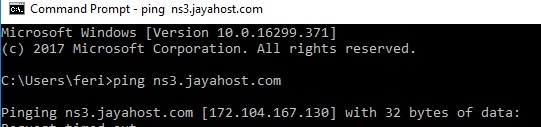
If you don't know your current name server's IP, run a ping from CMD / Terminal:
ping ns1.oldnameserver.com
Important Note: Make sure you have sufficient server knowledge before using a custom name server. If your hosting server's IP changes in the future, you will need to manually update the name server IP.