Knowledge Base
Windows
How to Connect to a Windows VPS via Remote Desktop on Mac
Step-by-step guide to accessing your Digitalku Windows VPS from a Mac using the Microsoft Remote Desktop application.
This guide explains how to access your Digitalku Windows VPS from macOS using Microsoft Remote Desktop.
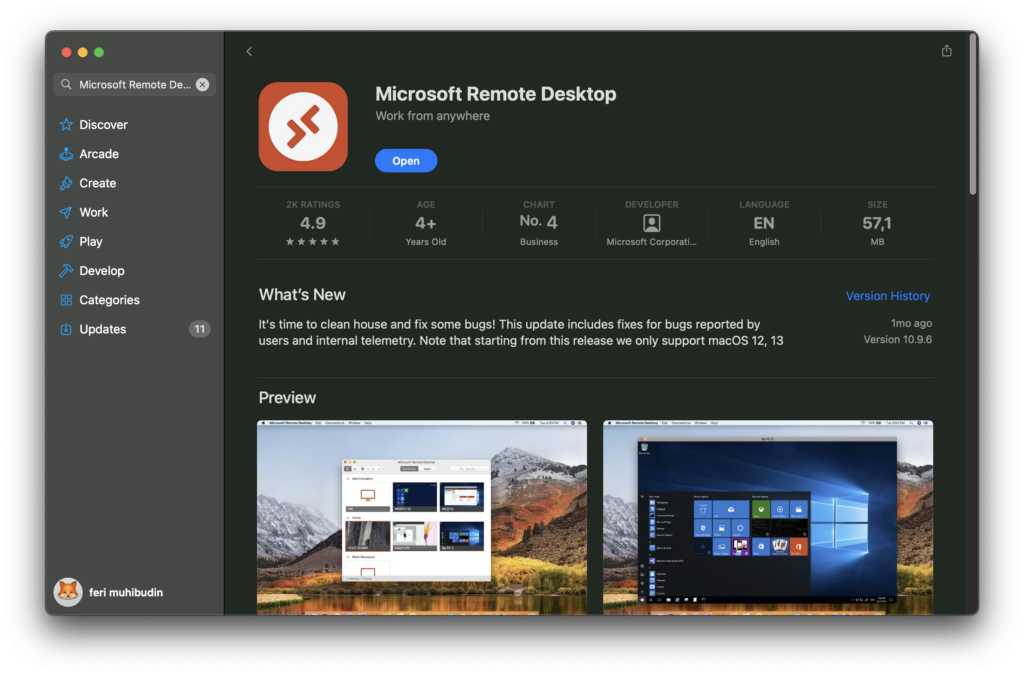
Step 1 — Download Microsoft Remote Desktop
- Open the Mac App Store on your Mac
- Search for "Microsoft Remote Desktop"
- Select the app developed by Microsoft Corporation
- Click Get → Install (you may be prompted to enter your Apple ID)
Step 2 — Get Your VPS Login Details
After purchasing a Windows VPS from Digitalku, you'll receive a confirmation email containing:
- Your VPS IP address
- Username (typically
Administrator) - Password
Keep this information handy as you'll need it to log in.
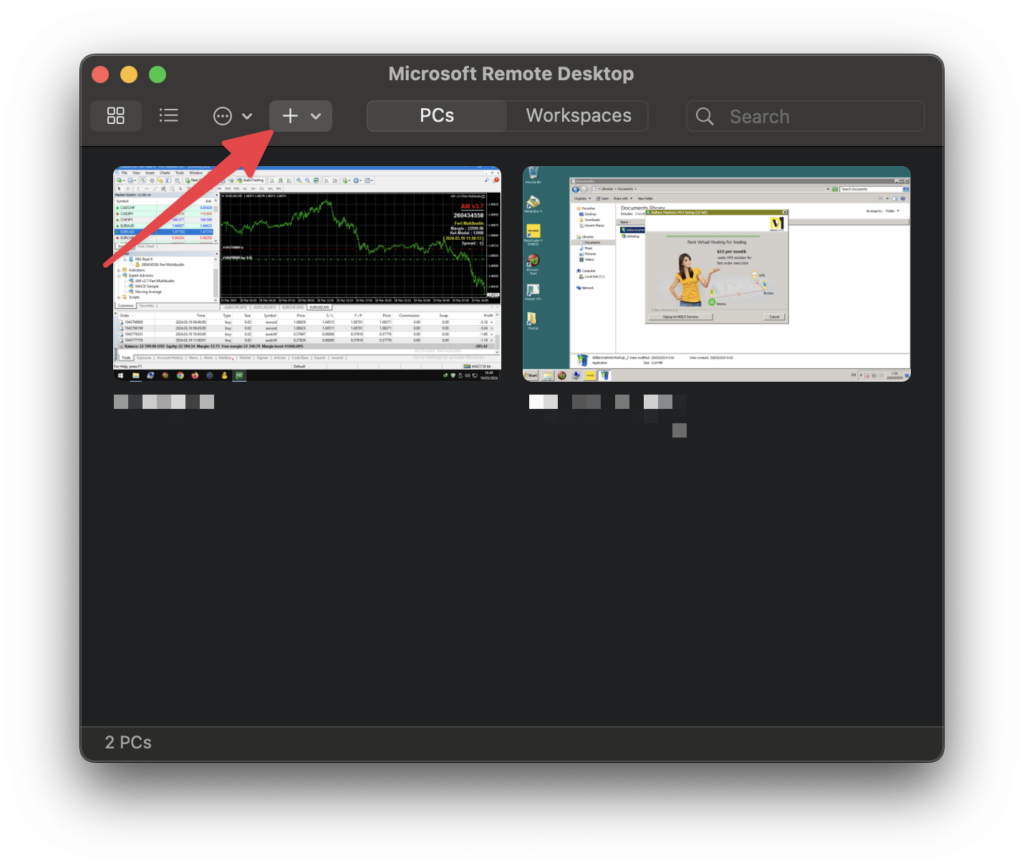
Step 3 — Open Microsoft Remote Desktop
Launch the app from your Applications folder or via Launchpad, then click Add Desktop to create a new connection.
Step 4 — Configure the Connection
Fill in the connection form:
- PC Name — enter your VPS Windows IP address
- User Account — choose Ask when required or click Add User Account to save credentials
- Friendly Name — optional, give it an easy name (e.g. Forex VPS)
Click Add to save.
Step 5 — Connect to Your VPS
- Find the connection you just added under Saved Desktops
- Double-click it to start the connection
- Enter your username and password if prompted
You are now connected to your Digitalku Windows VPS from your Mac. If you need any help, our support team is always ready to assist.