Step-by-step guide to deploying a Laravel project from localhost to cPanel hosting using the File Manager.
This guide walks you through moving a Laravel project from your local environment to cPanel hosting.
Step 1 — Create an index.php File in the Laravel Root
By default, Laravel expects the public/ folder to be the web root. To handle this on shared hosting, create an index.php file in the Laravel root directory with the following content:
<?php
header('Location: public/');
Save the file. Verify that accessing your domain redirects directly to the public/ folder.
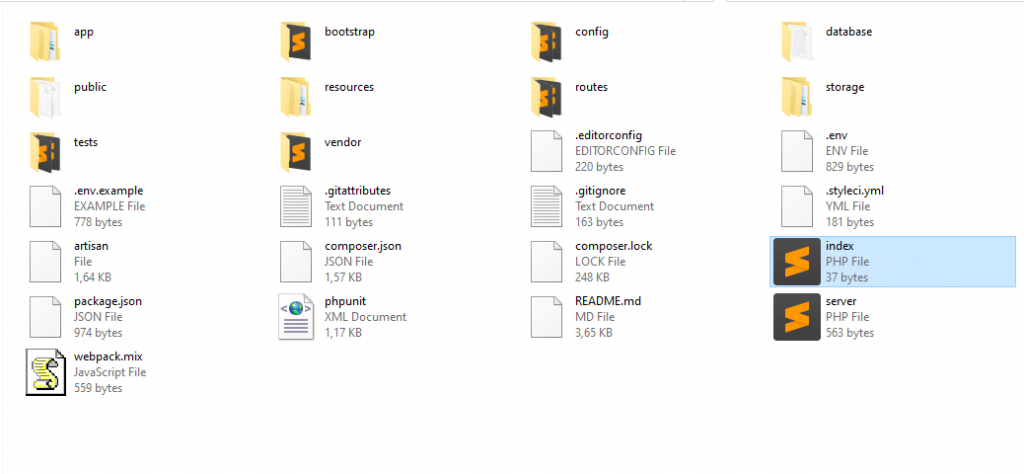
Step 2 — Compress All Laravel Files into a ZIP
Package your entire Laravel project into a single .zip file. The .zip format is used so it can be extracted directly in cPanel's File Manager.
Step 3 — Log In to cPanel
Log in to your hosting cPanel. See the how to log in to cPanel guide if needed.
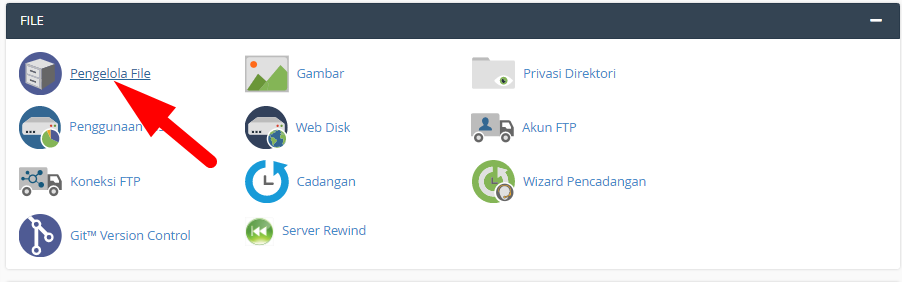
Step 4 — Open File Manager
Search for File Manager in cPanel using the search bar and click to open it.
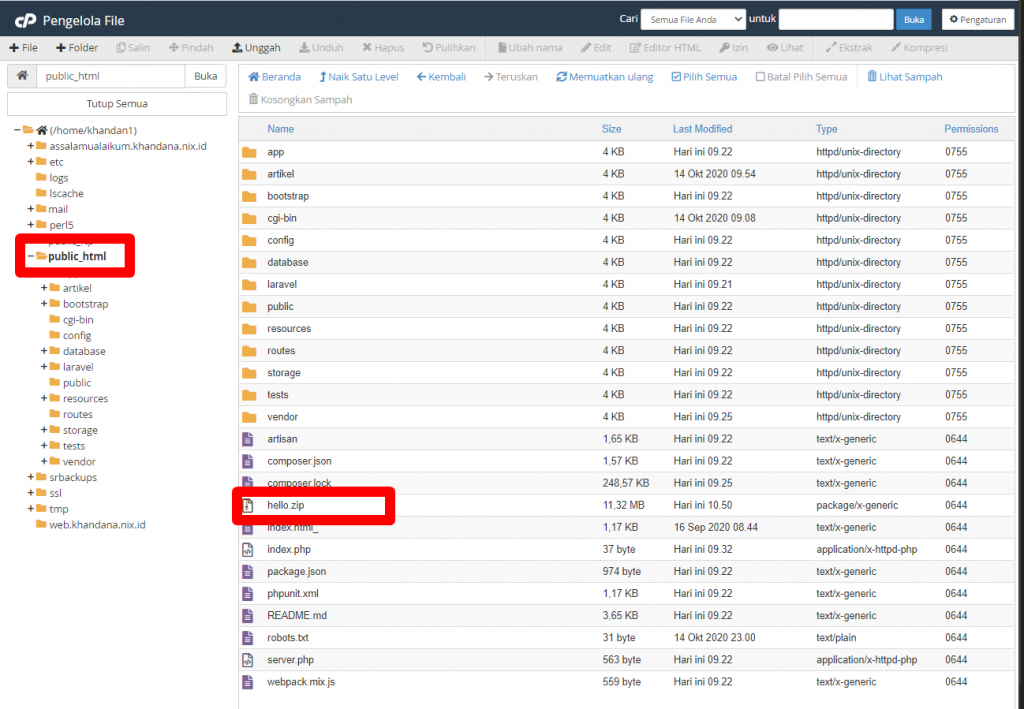
Step 5 — Upload and Extract the ZIP File
Navigate to your target folder (typically public_html), then upload the Laravel .zip file there.

Once uploaded, right-click the .zip file and select Extract. All Laravel files will be extracted into that folder.
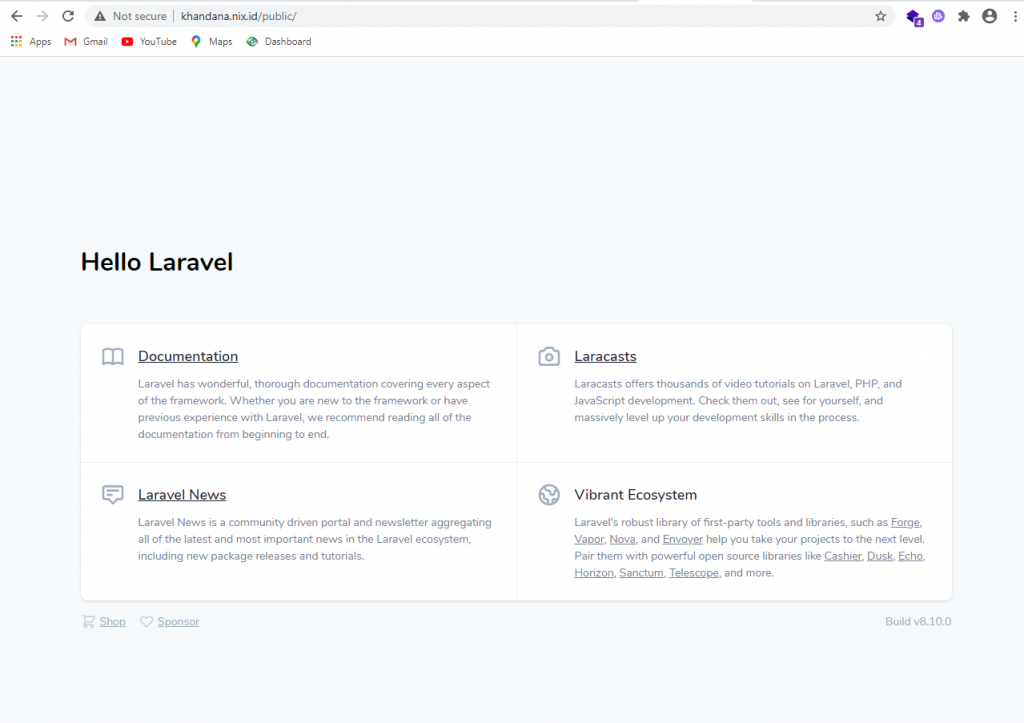
Step 6 — Test the Upload
Open your domain in a browser to confirm Laravel is running correctly.