To get started, it's important that you know how to access your VPS from a Mac computer. This article will teach you how to log in to Remote Desktop in easy and fast steps. Follow this guide, and you'll be ready to use your Windows VPS in no time.
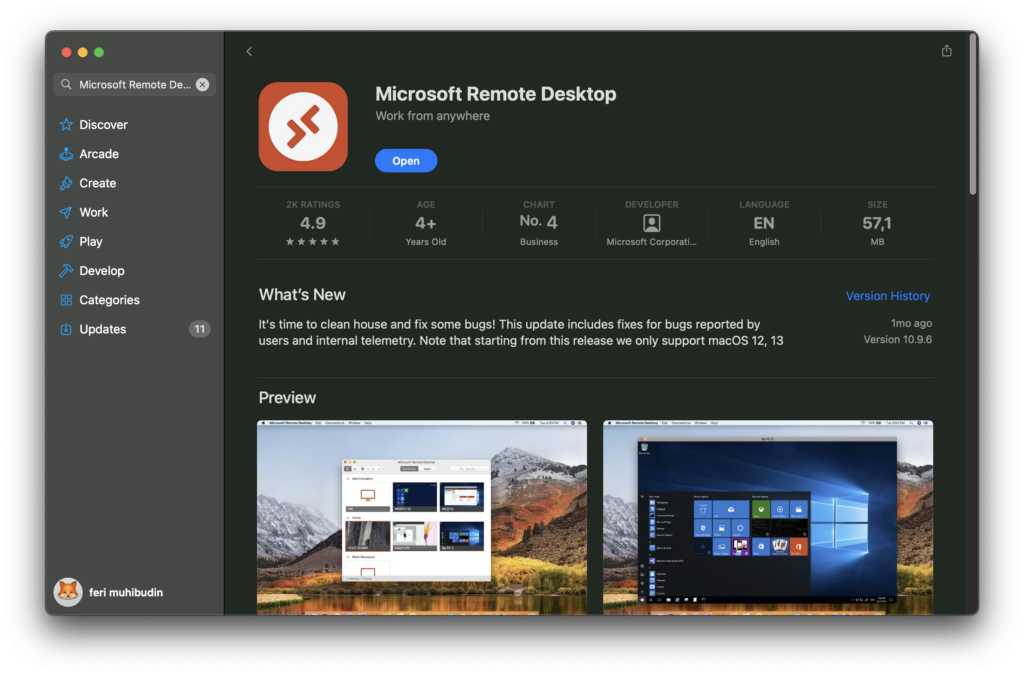
Step 1: Download and Install Microsoft Remote Desktop
- Open “Mac App Store” on your Mac OS computer.
- Search for “Microsoft Remote Desktop” using the search box.
- Select the “Microsoft Remote Desktop” application developed by Microsoft Corporation.
- Click "Get" then "Install" to download and install the application. You may need to enter your Apple ID to continue.
Step 2: Get VPS Login Information
- After purchasing a Windows VPS from Digitalku, you'll receive a confirmation email containing important details like your VPS IP address, username, and password. Save this information as it will be used for login.
Step 3: Open Microsoft Remote Desktop
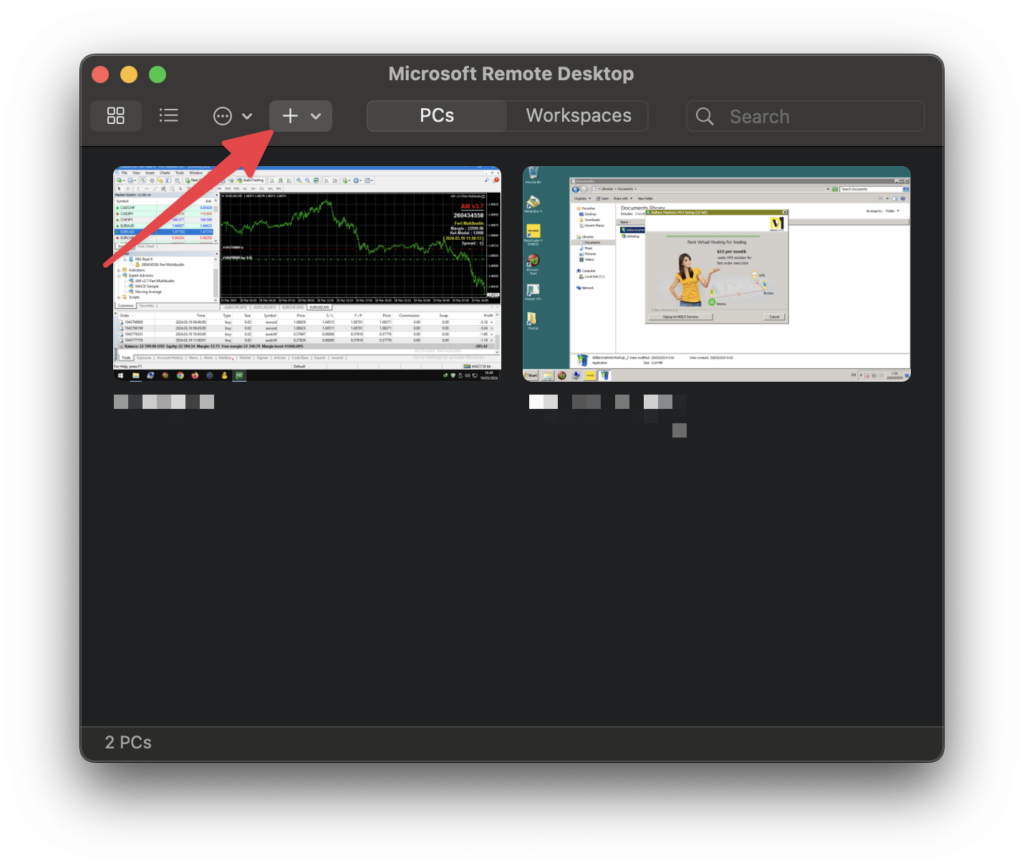
- Once the installation is complete, open the “Microsoft Remote Desktop” application from the Applications folder or via Launchpad.
- Click on the “Add Desktop” button to add a new desktop connection.
Step 4: Configure a New Desktop Connection
- In the "PC Name" column, enter the IP address of your Windows VPS that has been provided by Digitalku.
- You can leave “User Account” as “Ask when required” or click “Add User Account” to save the username and password, so you don't have to enter them each time.
- If desired, provide a name for this connection in the “Friendly Name” column so that it is easy to recognize later.
- Click “Add” to complete adding the desktop.
Step 5: Connect to your Windows VPS
- Find the connection you just added in the “Saved Desktops” list.
- Double click on the connection to start the login process.
- If you didn't save your username and password before, the system will ask you to enter them now.
- After that, you will be connected to your Windows VPS desktop and can start working with the Windows environment on Mac OS.
Closing:
Accessing your Windows VPS from Mac OS using Remote Desktop is a simple and straightforward process. By following the steps above, you can now easily connect to your server at Digitalku, taking advantage of all the power and flexibility a Windows VPS offers. If you have any questions or need further assistance, the Digitalku support team is always ready to assist you. Thank you for choosing Digitalku as your Windows VPS provider!